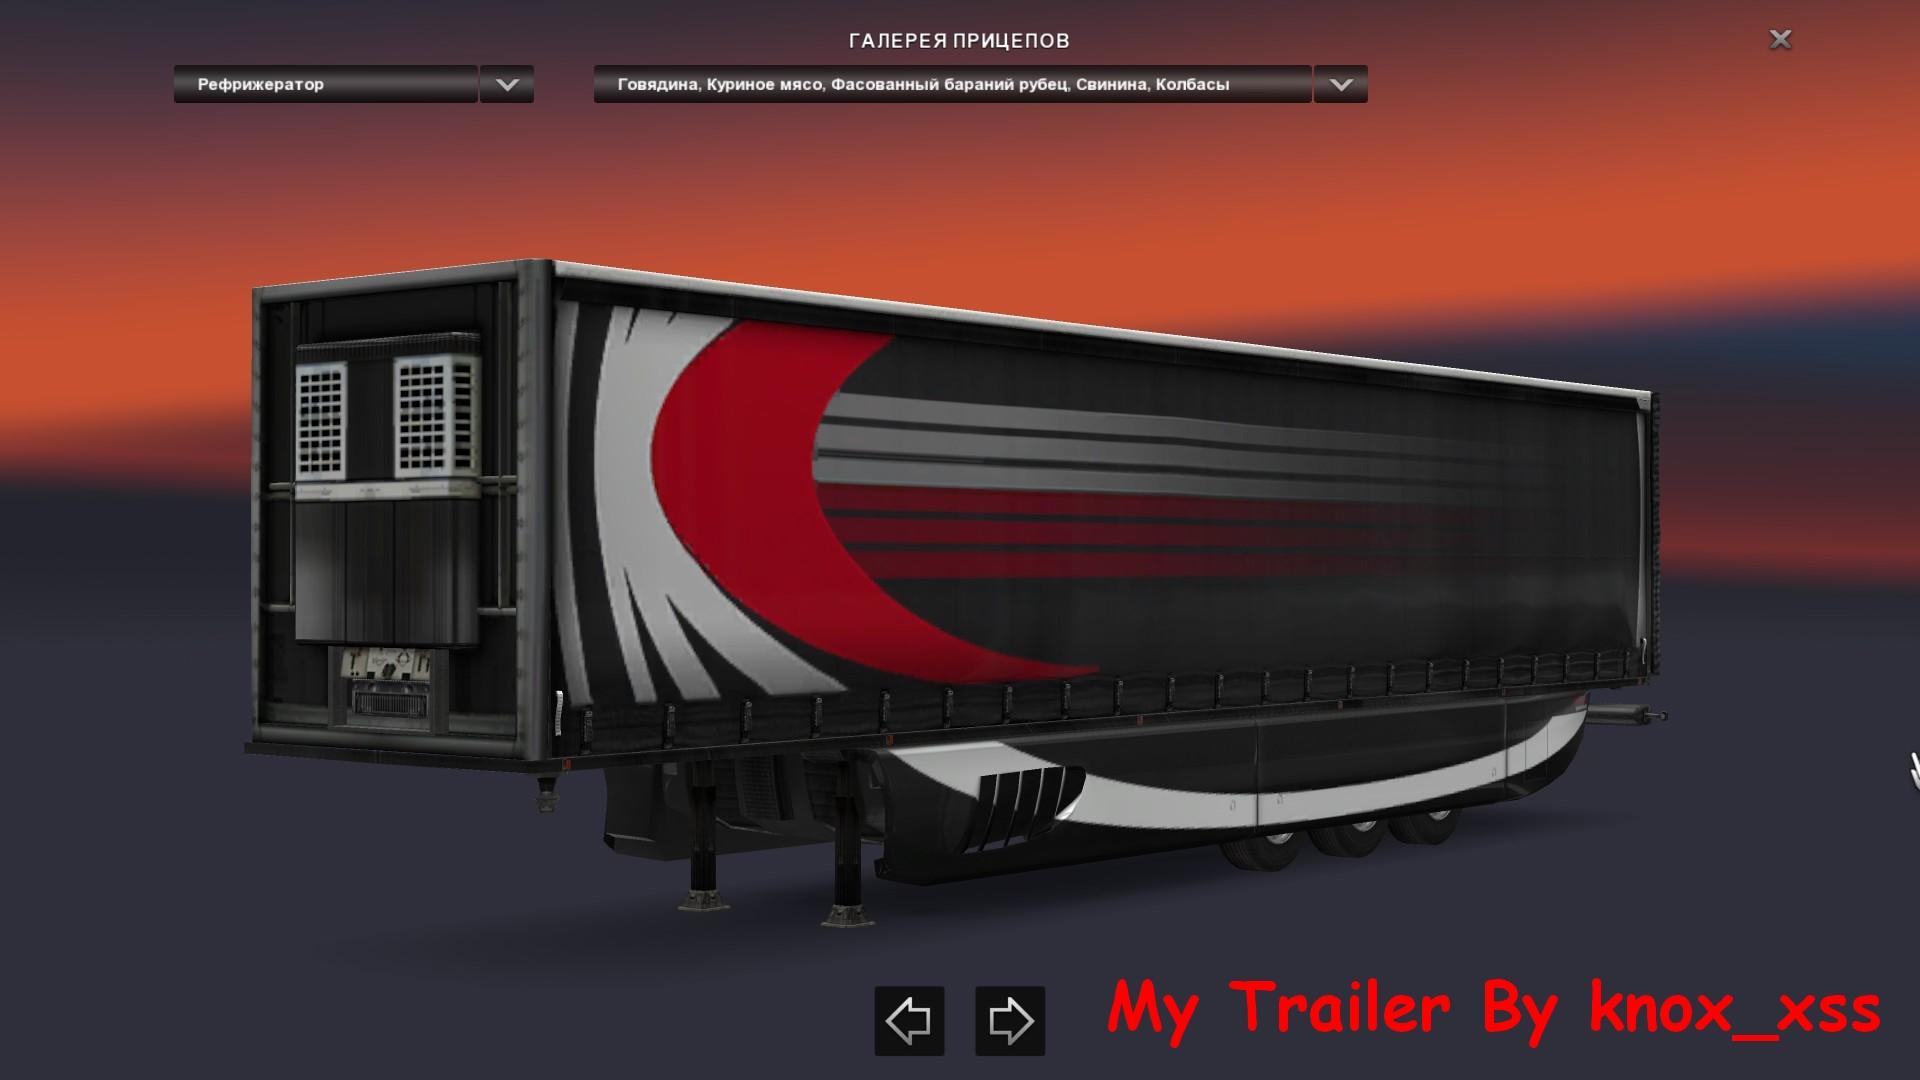
MY TRAILER (TEDIT) V0.7 ETS2


MY TRAILER (TEDIT) V0.7 ETS2
Editor own trailer – shows owning trailers,
some of them are currently active, how many cargoes there, how many of them, their weight,
how and where they should take. It is also possible to buy a trailer to the property
or sell its own trailer.
Setting
All files in the folder to unzip the saves
Thanks
Oleg (oq37) – for the inspiration, ideas and testing the bend
Vadik (vad & k) – for ideas and testing the bend
Sergey (Supric) – a program for testing
JohnnyGuitar – for decoder saves
Team SCS – for being left to decode save game)))
Helpful information
When you run the program automatically decodes the save game, it opens and saves a copy of it
file game.sii.bak.
In the lower left corner of the program’s specified date.
When you close the program does not save the save! To save you must click “Save game.sii”.
The term “open” refers trailers trailers, cargo which is visually seen
user (timber, Low Loader, dump, container, animal transport, etc.). Respectively,
in the “closed” cargo trailers are not visually evident (Krone Profiliner, Schmitz Universal, etc.).
Description of program files
scsc.jar – decoder saves
Author: JohnnyGuitar
For his work should be installed JAVA version of 7 or higher (http://java.com)
ATTENTION! Without installed JAVA saves editing is not possible!
tedit.exe – the program itself
tedit.ini – the configuration file, which can be supplemented by some defami its chassis, wheels and cargo.
It contains section:
[chassis] – defy the chassis;
[wheels] – defy the wheels;
[accessories] – defy additional accessories;
[cargo] – defy goods for a certain type of chassis.
The format at the section [cargo] is as follows: the chassis, the weight, the weight (ie, def chassis def cargo and bulk cargo).
ATTENTION! Before or after the commas should not be blank!
job.txt – stores information about the current job
job.log.txt – all log handling and landings
license_plates.txt – templates for generating numbers
trailers.txt – a list of available trailers when buying a trailer. One line – one trailer.
The format string is:
, , []
“Extras. Accessory” – an optional accessory, an optional element.
Also no spaces before and after the decimal point!
Program description
“Money account” – money.
“Assigned trailer” – assigned (currently active) trailer.
“Connected” – hooked or if a trailer is disengaged.
“Owned trailers” – a list of their own trailers. Double click – and the selected trailer becomes active.
“Accessories” – Trailer accessories selected. Usually, the very first accessory – chassis. Then
go wheels. And in the end – one accessory load, optional (there is the so-called “open”
trailers). Choose the accessories below you can change it manually, or choose from the drop-down list.
“Add / remove last accessory (cargo)” – button to add or remove the last accessory (usually
this cargo). If the last accessory is, it is removed; if it is not – it will be added and it can be
choose from the drop-down list.
“Wear” – the degree of wear / damage to the trailer. 0 – No damage 1 – 100% damage. Taken into account
when calculating the fee and the sale of their own trailer.
“Cargo mass” – the total weight of all cargo in the trailer.
“Buy trailer” – buy a trailer in the property. Opens buying the trailer (see. Below).
“Sell trailer” – to sell its own trailer. Upon the sale of 70% is taken from the estimated value of the trailer.
If the trailer is not a default, with the estimated cost of the trailer taken 30,000 euros. Also taken into account
wear / damage to the trailer.
“Available cargoes” – a list of available supplies to the “open” trailer by weight cargo.
Double click – and the selected cargo and its mass is automatically found in the field “Cargo name” and
“Cargo weight, kg”.
“Cargo name” – the name of the cargo. To be filled in by hand to the “open” trailers and automatically –
for “closed” trailers.
“Cargo weight, kg” – weight of the load in kilograms. To be filled in by hand to the “open” Trailer
and automatically – for the “closed” trailers.
“Mileage, km” – the calculated route length in kilometers. Fill is not necessary. If not filled,
the odometer readings are taken at the time of loading and unloading at the time of a load.
“Revenue per km” – the price per kilometer. Fill is not necessary. By default set to 15 euros / km.
“Payment” – the fee for delivery. Fill is not necessary. If not filled, calculated as
the product of the length of the route and the price per kilometer.
“Departure point” – the point of departure. You can manually enter or select from the list. Fill
not necessary.
“Destination” – destination. You can manually enter or select from the list.
“Sign contract” – to sign a contract. For this purpose, the field “Cargo name”, “Cargo weight” and
“Destination” were filled, as well as to the selected trailer has been active. Otherwise signing
will not happen. After the successful signing of the contract the goods loaded into the trailer, the mass of “Cargo mass”
increases the value of the “Cargo weight”, and the list of “Current job” added information about the job.
At boot time it takes 30 minutes to N hours. N – is chosen at random and depends on the load mass.
“Current job” – the current job. In it are listed the characteristics of load (from where, name, weight),
and service information. One line – one load.
“Unload cargo” – to unload selected from the list of “Current job” load. The total weight of cargo in the trailer
decreases in the weight of the selected cargo and the cargo is removed from the list of “Current job”. On unloading takes time
30 minutes to N hours. N – is chosen at random and depends on the load mass.
“Job log” – log loading and unloading in a visual form.
“Log” – log program.
“Reload game.sii” – reloads the program save game game.sii. Useful if the program keep permanently
open.
“Save game.sii” – retains the save game.sii with all the changes.
Buying your own trailer
When you click on “Buy trailer” opens a window shopping, which will indicate the type of trailer (Trailer type),
def chassis (Chassis), number of axles (Number of axles), def wheels (Wheels), ext. Accessories (Additional
accessories), the price of the trailer (Price), the country of registration (Country), and the license plate number (License plate). Types
sign generated templates depending on the country. ATTENTION! License plate when working with your own
trailer is not displayed! So we will consider it the future in mind 🙂
Almost every field (Chassis, Number of axles, Wheels, …) can be changed manually. Those. if present
any third party without trailer default, you can manually enter def chassis, wheels and other def.
The button “Buy trailer” is selected for the purchase of the trailer. If the funds in the account is not enough,
This button is not available. If enough, from the account will be written off the money for the trailer.
Examples of using the program
Example 1: For a “closed” trailer, general cargo.
I come to the base with his empty trailer. I view a list of goods from this base. I opt for a suitable cargo
and memorize it. Getting on to the loading ramp. Saves. Changeover from the game program. When you start
program from a list of its own trailers automatically selects the currently active trailer. I enter in
Field “Cargo name” the name of the cargo box “Cargo weight” – its mass, if necessary, ask the mileage fare
or immediately stipulated fee. Then in the “Departure point” insert the point of departure, and in the field “Destination”
– destination. All the best, “Sign contract” (sign). The list of “Current job” added the first load.
All the best in the program “Save game.sii” and switch back to the game. Load last saved the save – all,
trailer loaded.
For example, there is a place. Do the same: I come to the base, choose the goods, getting to the ramp,
I switch to the program (it is still open), shake it button “Reload game.sii” (prog again
reads svezhesohranёnny save game), once I enter the data load and points of departure / destination (read – “fill
invoice “:)), I press” Sign contract “, then” Save game.sii “, switching to the game, load save game – all of the second
cargo is loaded.
The route is affixed on the map after the first download. If there is more load, supplementing the route to another city.
On arrival at the base to do the same: in a game preserve, switch to a program, I press “Reload game.sii”, from
the list of “Current job” choose the goods that need to unload and I press “Unload cargo”, received a money for transportation.
Then I press “Save game.sii”, switching to the game and load Sohranki – everything I unloaded at first base. Same
Makar meal at second base, third, n-tion …
EXAMPLE 2 For an “open” trailer, a single load.
Let’s say I have now transporter (empty). I come to the base for loading vehicles. Getting to the point of loading,
I save, switching to a program. The list of its own and an active transporter selected. Automatic for transporter
fill the list available to its chassis goods (Available cargoes). Double click in the list on the right
I cargo and shipping name is automatically filled DEF of cargo and are also automatically stamped
its mass. Golf “Cargo name” do not touch, as it is filled DEF cargo and go into a save! Further, as usual –
I introduce, if necessary, the mileage, the rate, fee, then the points of origin and destination, then “Sign contract” and
“Save game.sii”. Switches to the game, load save game – everything I loaded cars. Routes and
I scratch to the point of discharge. Upon arrival everything well: in a game preserve, switching to a program, I press “Reload game.sii”,
choose from the list of “Current job” cargo and shake “Unload cargo” (unload). All the best “Save game.sii”, switching to the game,
Sohranki load – everything I disembarked.
Copyright © 2016 by Alex (Knox_xss)
Credits: knox_xss
How to install ETS2 mods or ATS Mods
In Euro Truck Simulator 2 it’s easy to install mods. You just need to download mod from here, copy/unzip files into: “My Documents\Euro Truck Simulator 2\mod” folder or if you play ATS please install mods to: “My Documents\American Truck Simulator\mod” folder. To unzip files you can use: WinRAR or 7zip. After that you need to activate the mods you want to use.


